DIY Headboard!
July 03, 2017♥Wow this was such a fun project!
Sorry the pictures are a little blurry for right now! I am figuring it out. Thanks :)

Here is what you will need:
- Plywood (I used OSB)
- Slabs of wood for legs and back
- Staple Gun
- Wood Glue
- Mattress foam or roll out foam
- Nail heads or nail trim
- Fabric of choice
- Batting (enough to cover the whole thing)
- Spray Adhesive
- Wood Nails
INSTRUCTIONS:
- I started by getting the exact dimensions I would need for my King sized bed, width, length and actual headboard size, minus legs, by going to Home Depot to get the OSB and wood slabs. Home Depot will cut the exact dimensions you need and give you the extra slabs, which was nice. They do not do décor edges or rounds, just the basic square or rectangle dimensions. We chose OSB because it was the cheaper choice. I was nervous because I heard it could smell etc., but we smelled ours and it honestly was not bad and it is still very strong wood.
(NOTE: When we measured for the headboard we measured down below the first mattress so the finished headboard would go down further and not show any wood or excess fabric.)
- We took the wood home and cut off the top corners using a smaller saw, a table saw works too, because that is the design we wanted for our bed. (Internet has tons of ideas!)
- I went to Joanne's and picked out the fabric I wanted (make sure its something strong, and not see through!), nail trim and batting. They usually have good sales, download the app and check them out before you go!!
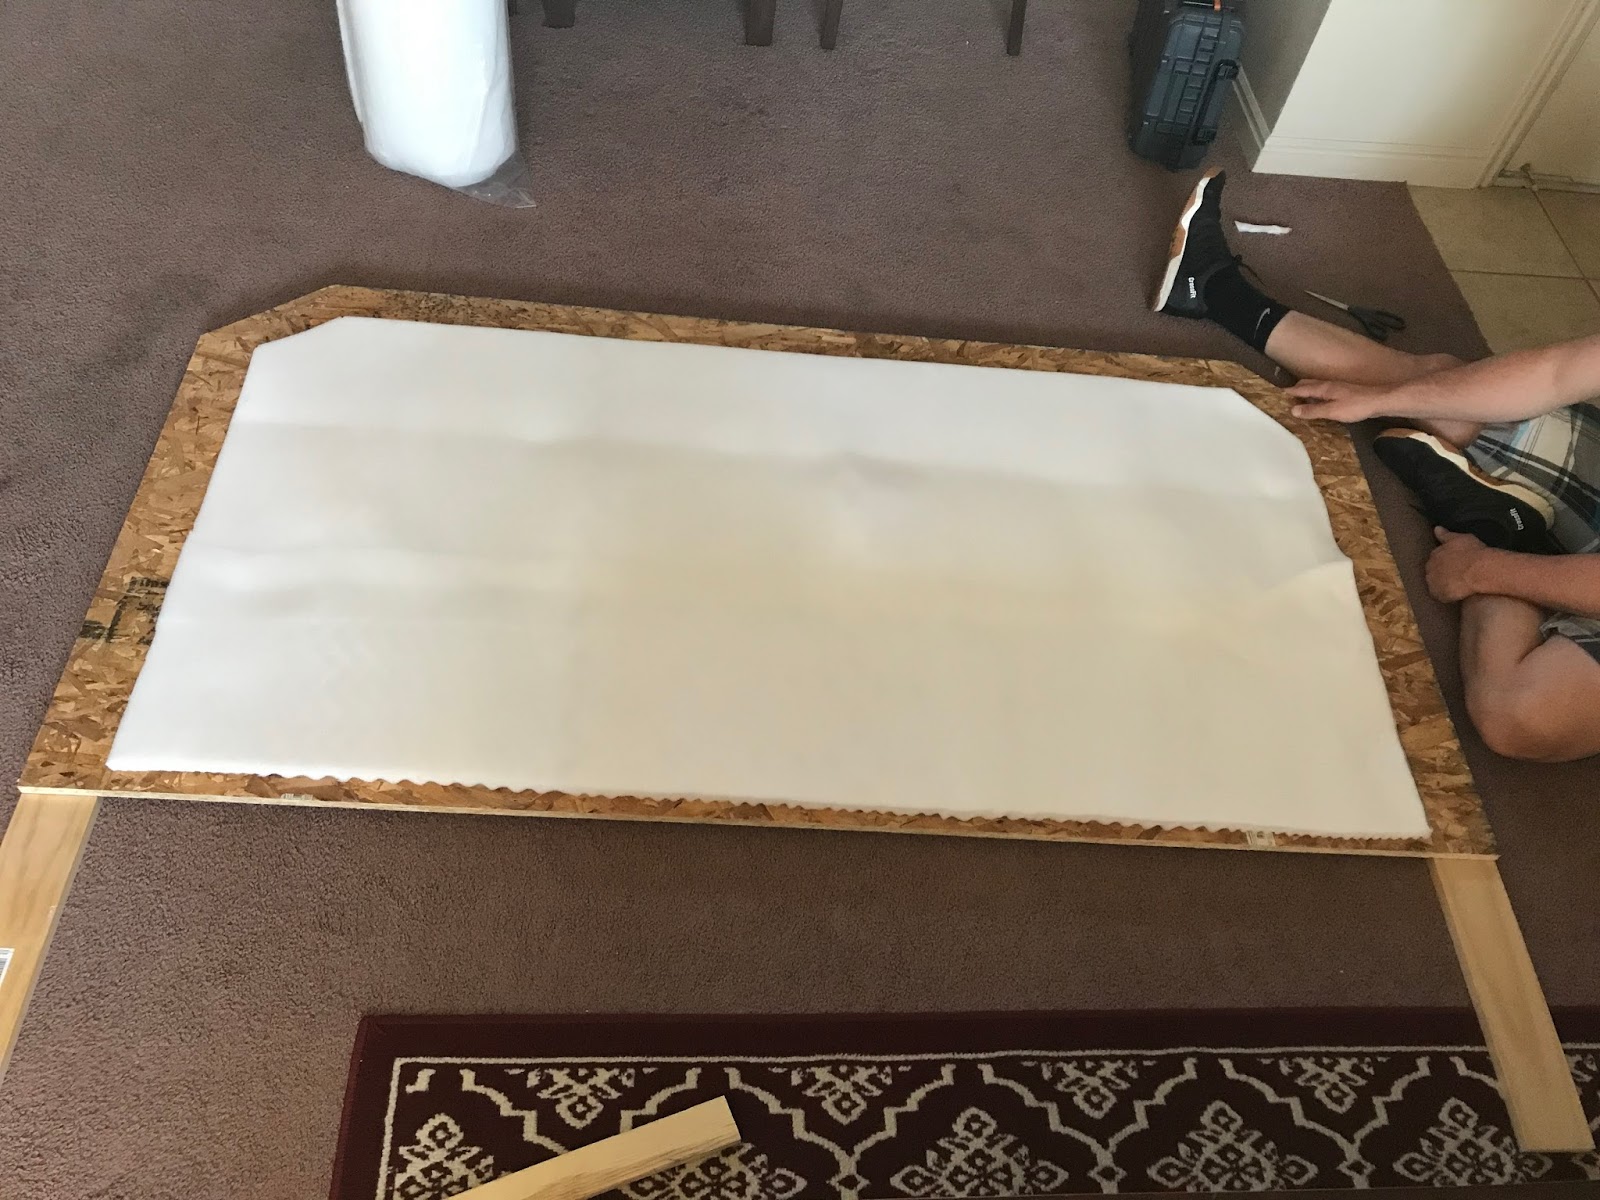
- We glued and nailed down the slabs to the corners all around to create the same thickness all the way around for cleanliness so that it would be easier when it came time to start wrapping the fabric around. Picture down below!

- On the front side, we then cut our cheap looking (yes cheap looking because I didn't care for the inner most layer to be the most beautiful thing ever) to fit the inside portion of the wood front. I measured 4 inches in all the way around (besides bottom cause I didn't care) and used the spray adhesive to attach the $10 mattress pad to the wood. (A twin size pad worked great for my king headboard) and make sure you do this process outside and then you can bring it back inside. Picture below.
- Then it was time to start adding on the batting and fabric and start stapling away. We decided to lay the fabric down on the floor, then the batting on top, and then the wood headboard down. Making it easier to stretch and staple on that back side. It worked really well! We made sure we had enough to wrap around to give it extra security. We used plenty of staples because I did not want this baby to ever fall apart in any way. Staple side, side, top, bottom. We had excess bottom area of the headboard so we didn't worry about making it the prettiest thing down there. (as you can sort of see in the picture).
We personally took some of the bulge out of the corners before wrapping the corners because I did not want them to look bulgy or out of shape, so feel free to play around in this portion.

-When you are all done, flip it back over to reveal the fabric. YAY!

- Last step is the nail trim. We bought the nail heads that were already in a straight trim from Joanne's which was amazing!! We still measured it out but helped it to be straight. We measured 3 inches from the edge in this time, that way the middle would have a sort of puff out look when we put the nails in.

- You can choose to drill holes in the legs to attach to your frame if you would like, but I didn't. We actually just squished ours against the wall with our purple mattress bed and it holds tight.
I am so happy we decided to go ahead and try this out. I was nervous at first, but it turned out awesome and I love the satisfaction of making something myself (plus husband duh).
Please comment if you have any questions on what products I used or how much I used. I am totally open to going into detail on things.
From my world to yours, Taryn.

0 comments